Create professional tournament event pages with online registration, payment processing, and automated waitlists. Complete guide to tournament marketing and player sign-ups.
Step 1: Enable Event Page
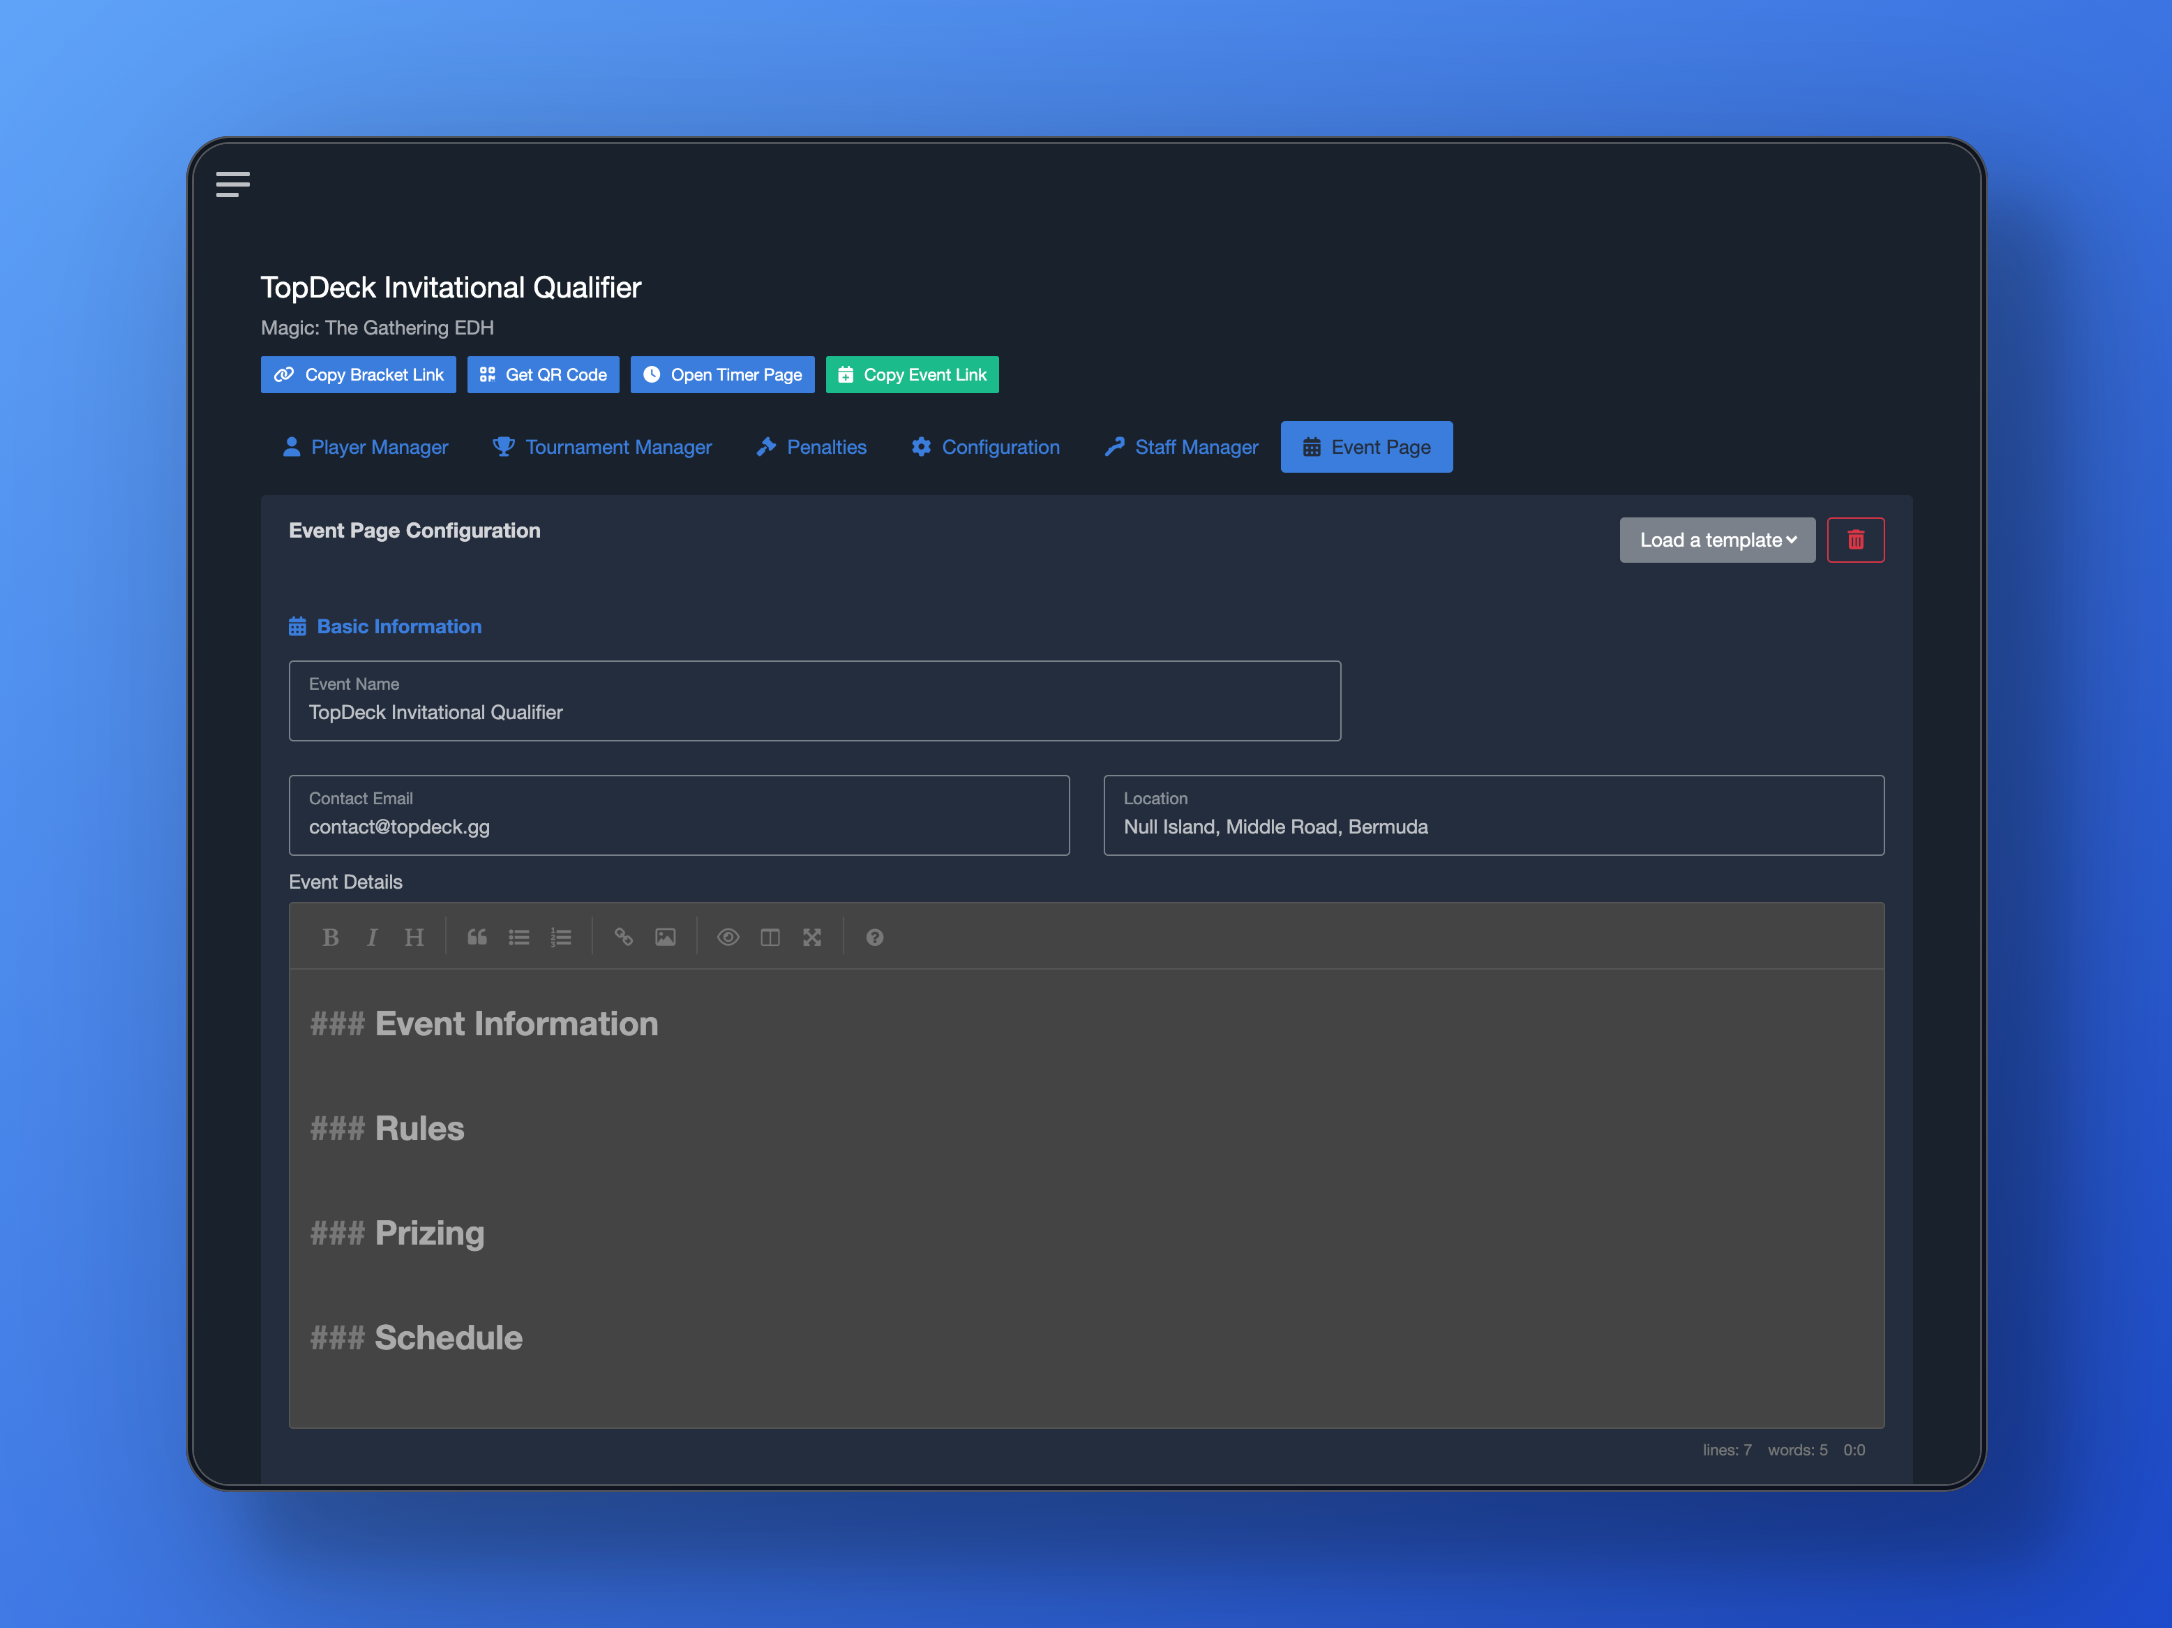
To get started, ensure you have toggled on Allow Event Page in the tournament configuration. This will allow you to navigate to the Event Page manager.
Step 2: Fill Out Mandatory Fields
Once you're on the event page manager, you'll need to fill out the mandatory settings. These include:
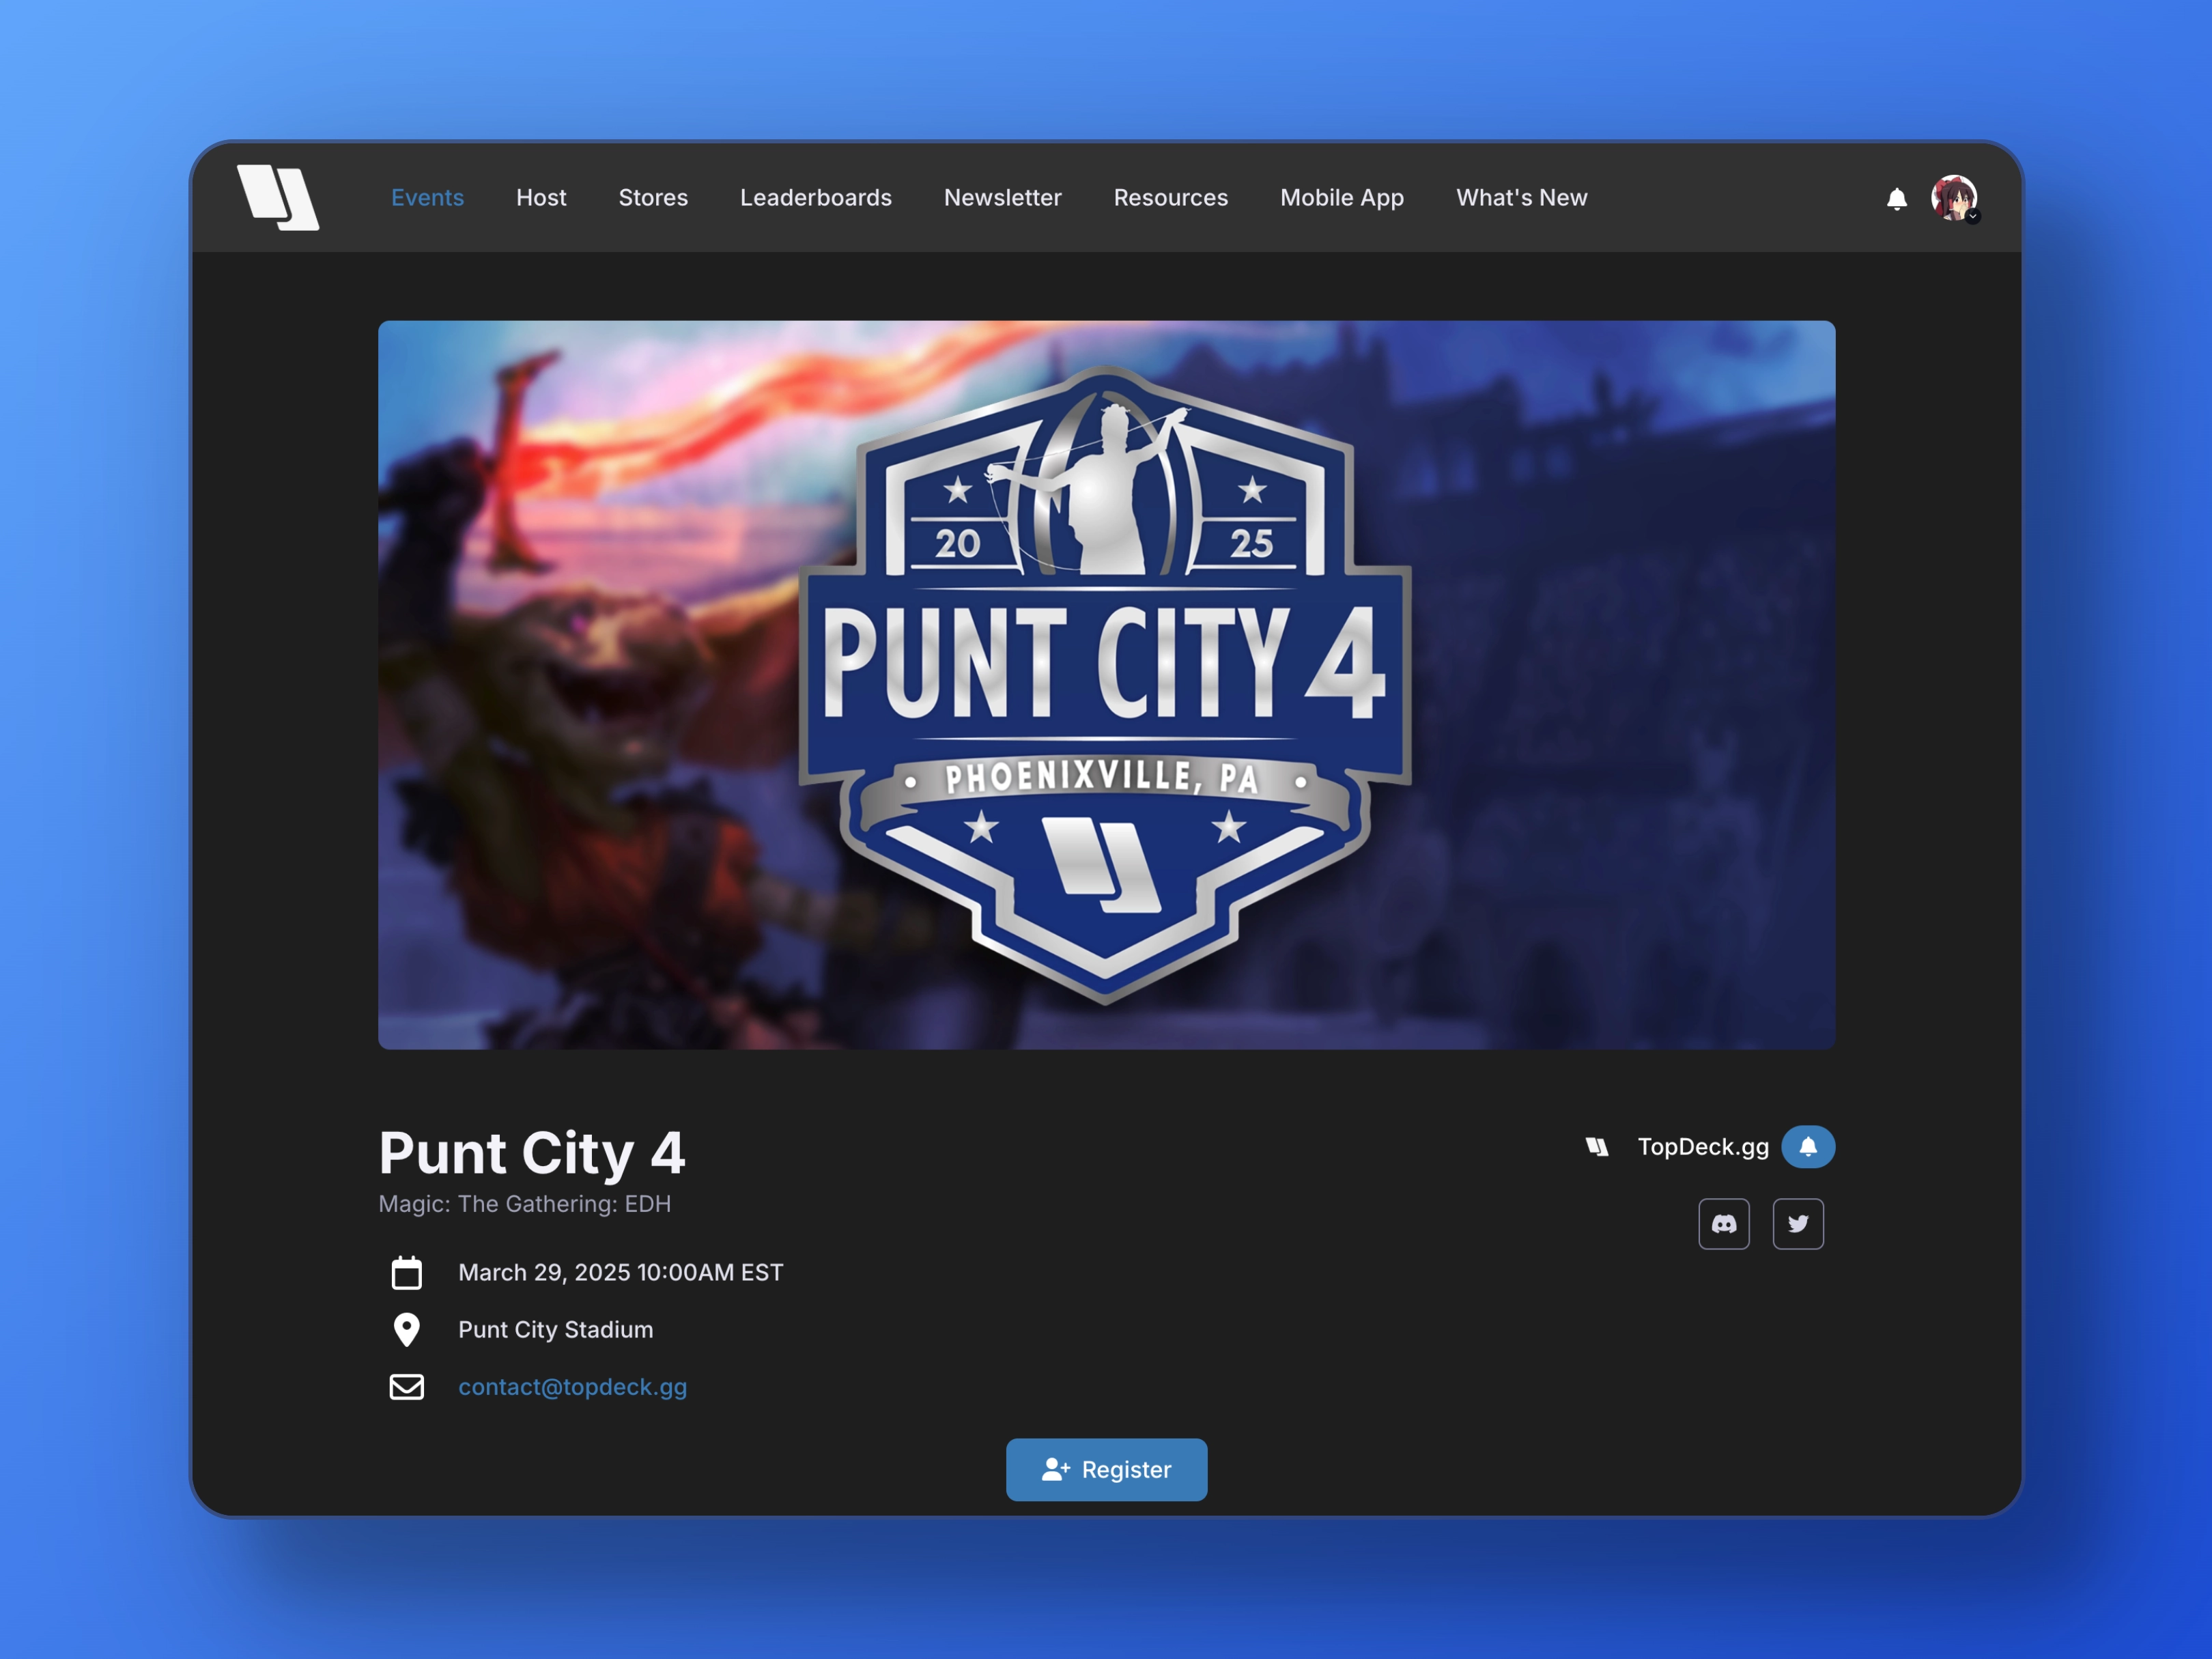
- Start Date
- Location
- Contact Email
- Event Details
You will be unable to save an event page unless all of these fields are filled out.
Step 3: Add Optional Settings
Once the mandatory fields are filled out, you can enable and set several optional fields to enhance both your tournament and your event page.
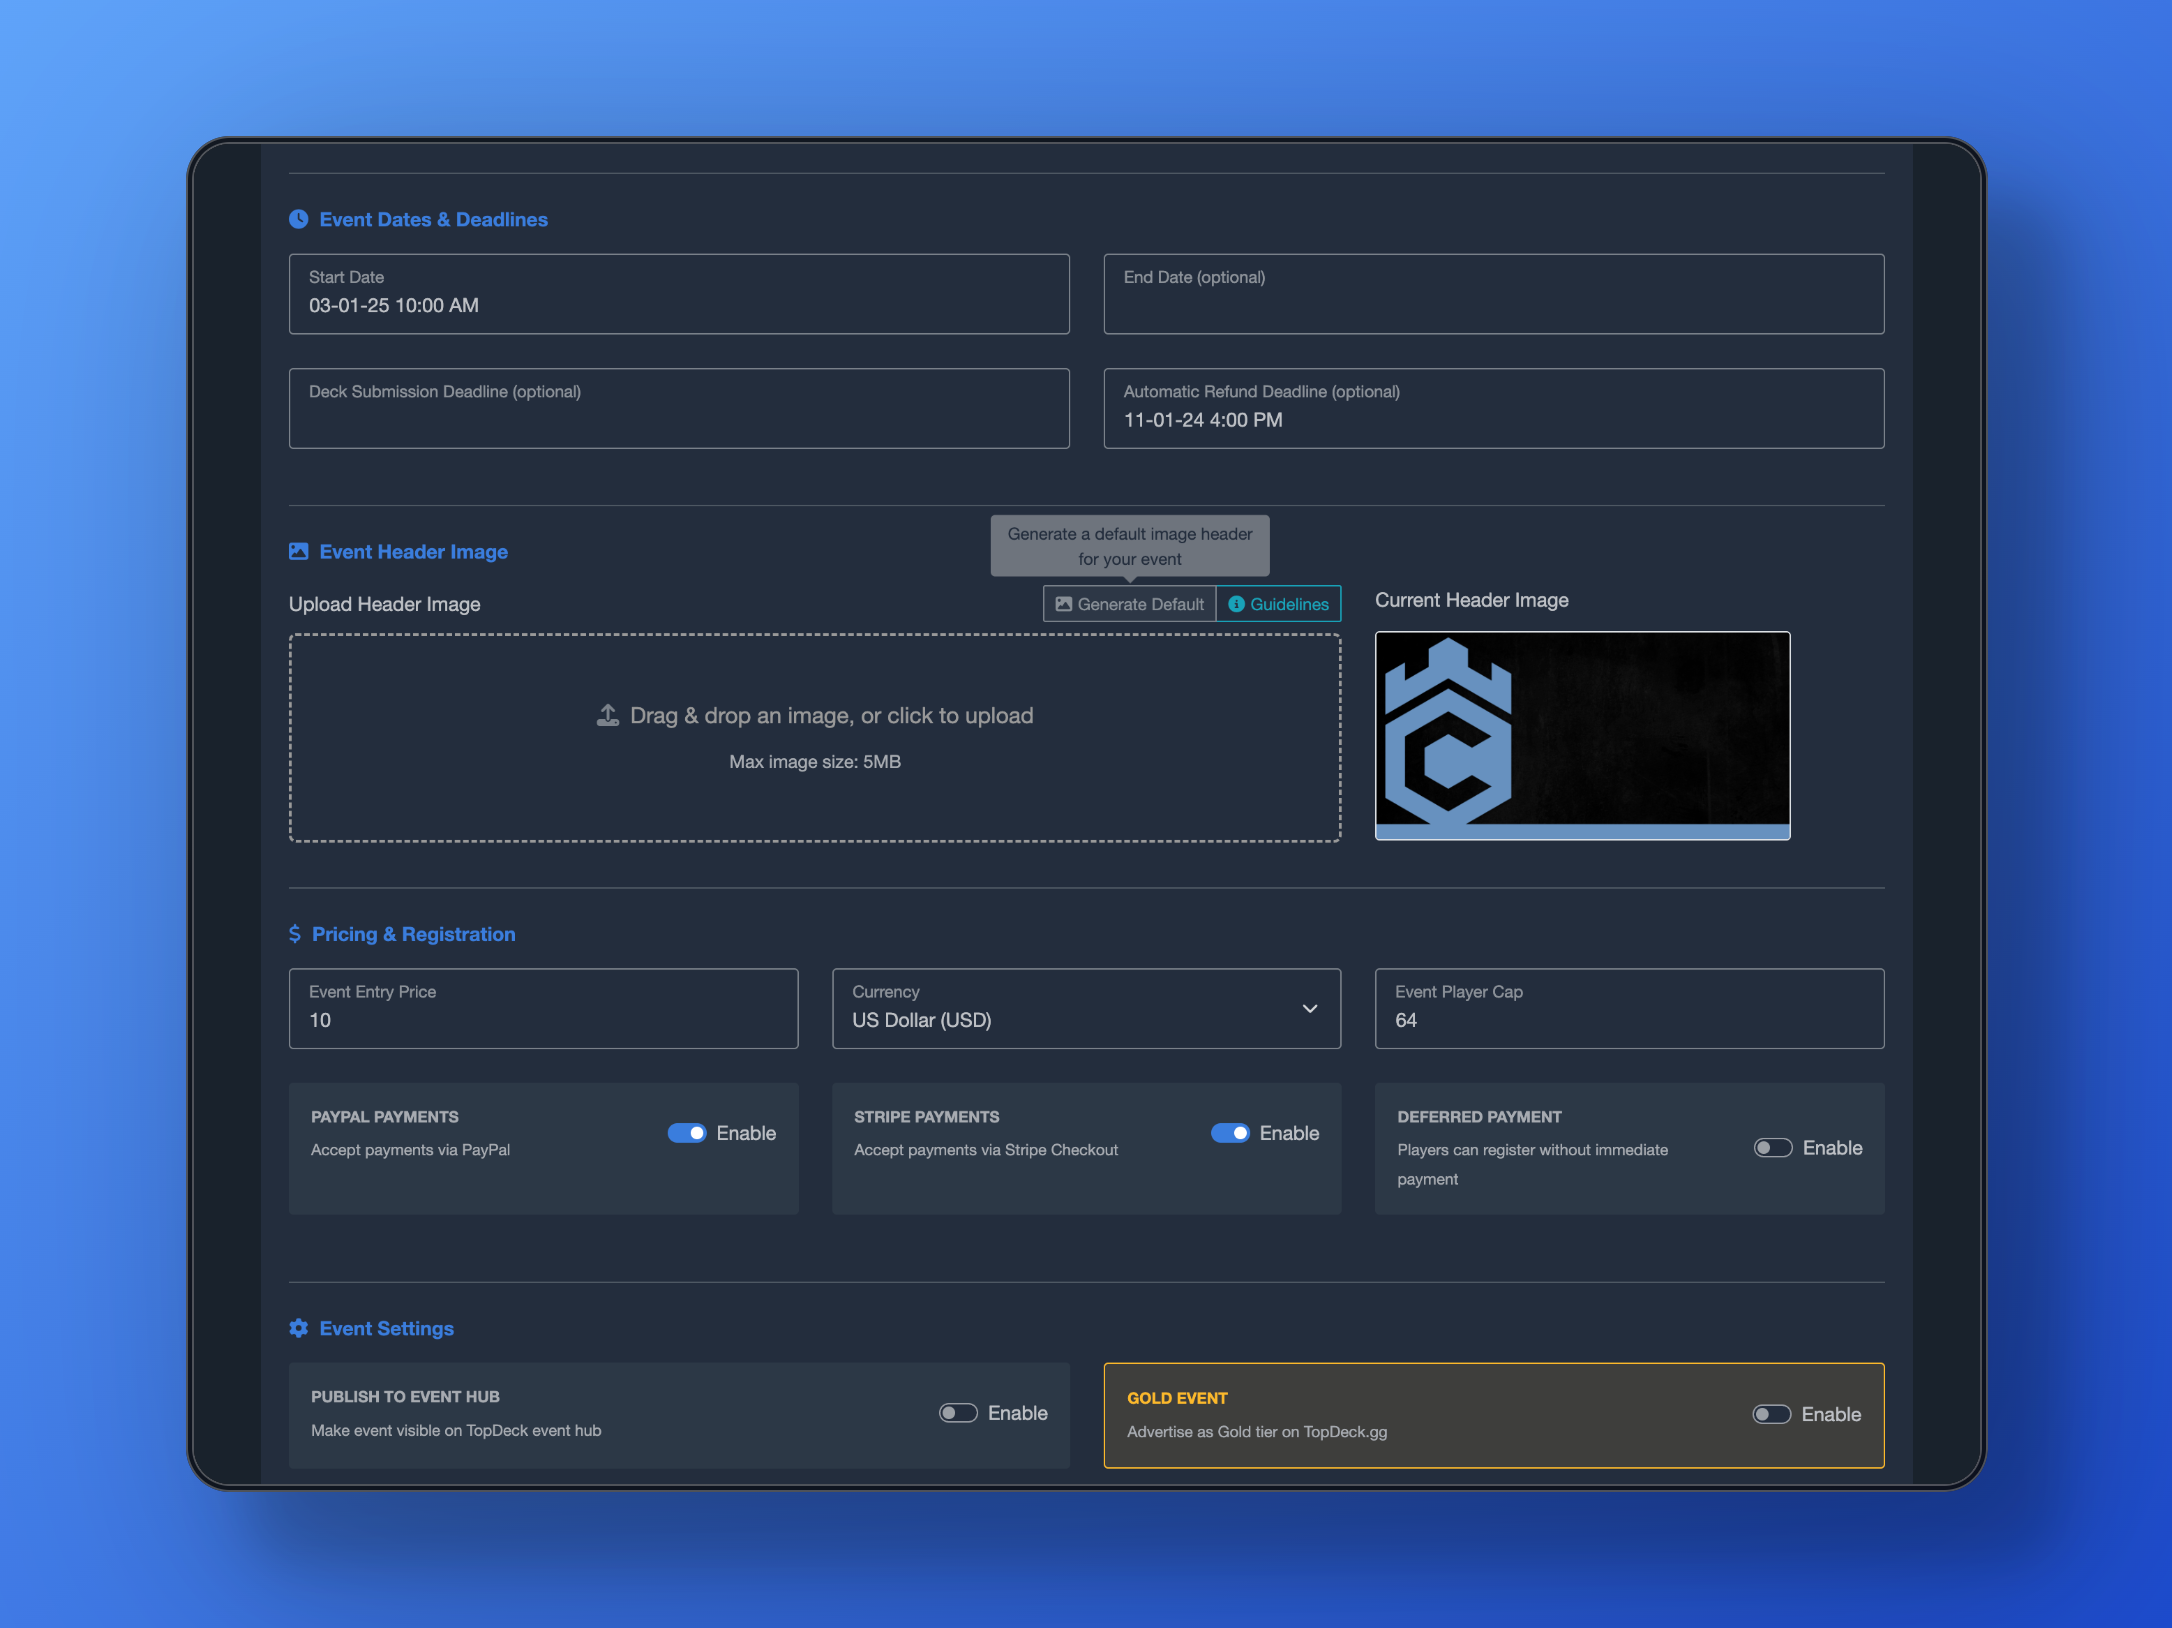
Event Dates & Deadlines
This area handles any date-specific settings for your event.
- End Date: An optional end date to include (for multi-day tournaments)
- Deck Submission Deadline: Set a date and time for deck submission. Once this deadline has passed, players will be unable to submit decklists.
- Automatic Refund Deadline: Set a date and time for players to self-drop and receive a refund from your event. This helps take out the hassle of manually handling each drop and refund.
- Registration Cutoff: Set a date and time to automatically close registration. Once this passes, the registration options disappear from your event page (on web and in the app), just as if Allow Registration were turned off. Leave it blank to keep registration open.
Event Header Image
You can add an event header to your page, which is a large image that appears at the top of the page. The recommended size for the event header is 2560x1280 pixels, or 2:1 aspect ratio. This image is used at the top of the event page, and on the TopDeck.gg event hub if you choose to publish there.
Simply click the upload box or drag an image in to begin uploading. Note that images have a maximum size of 5 megabytes.
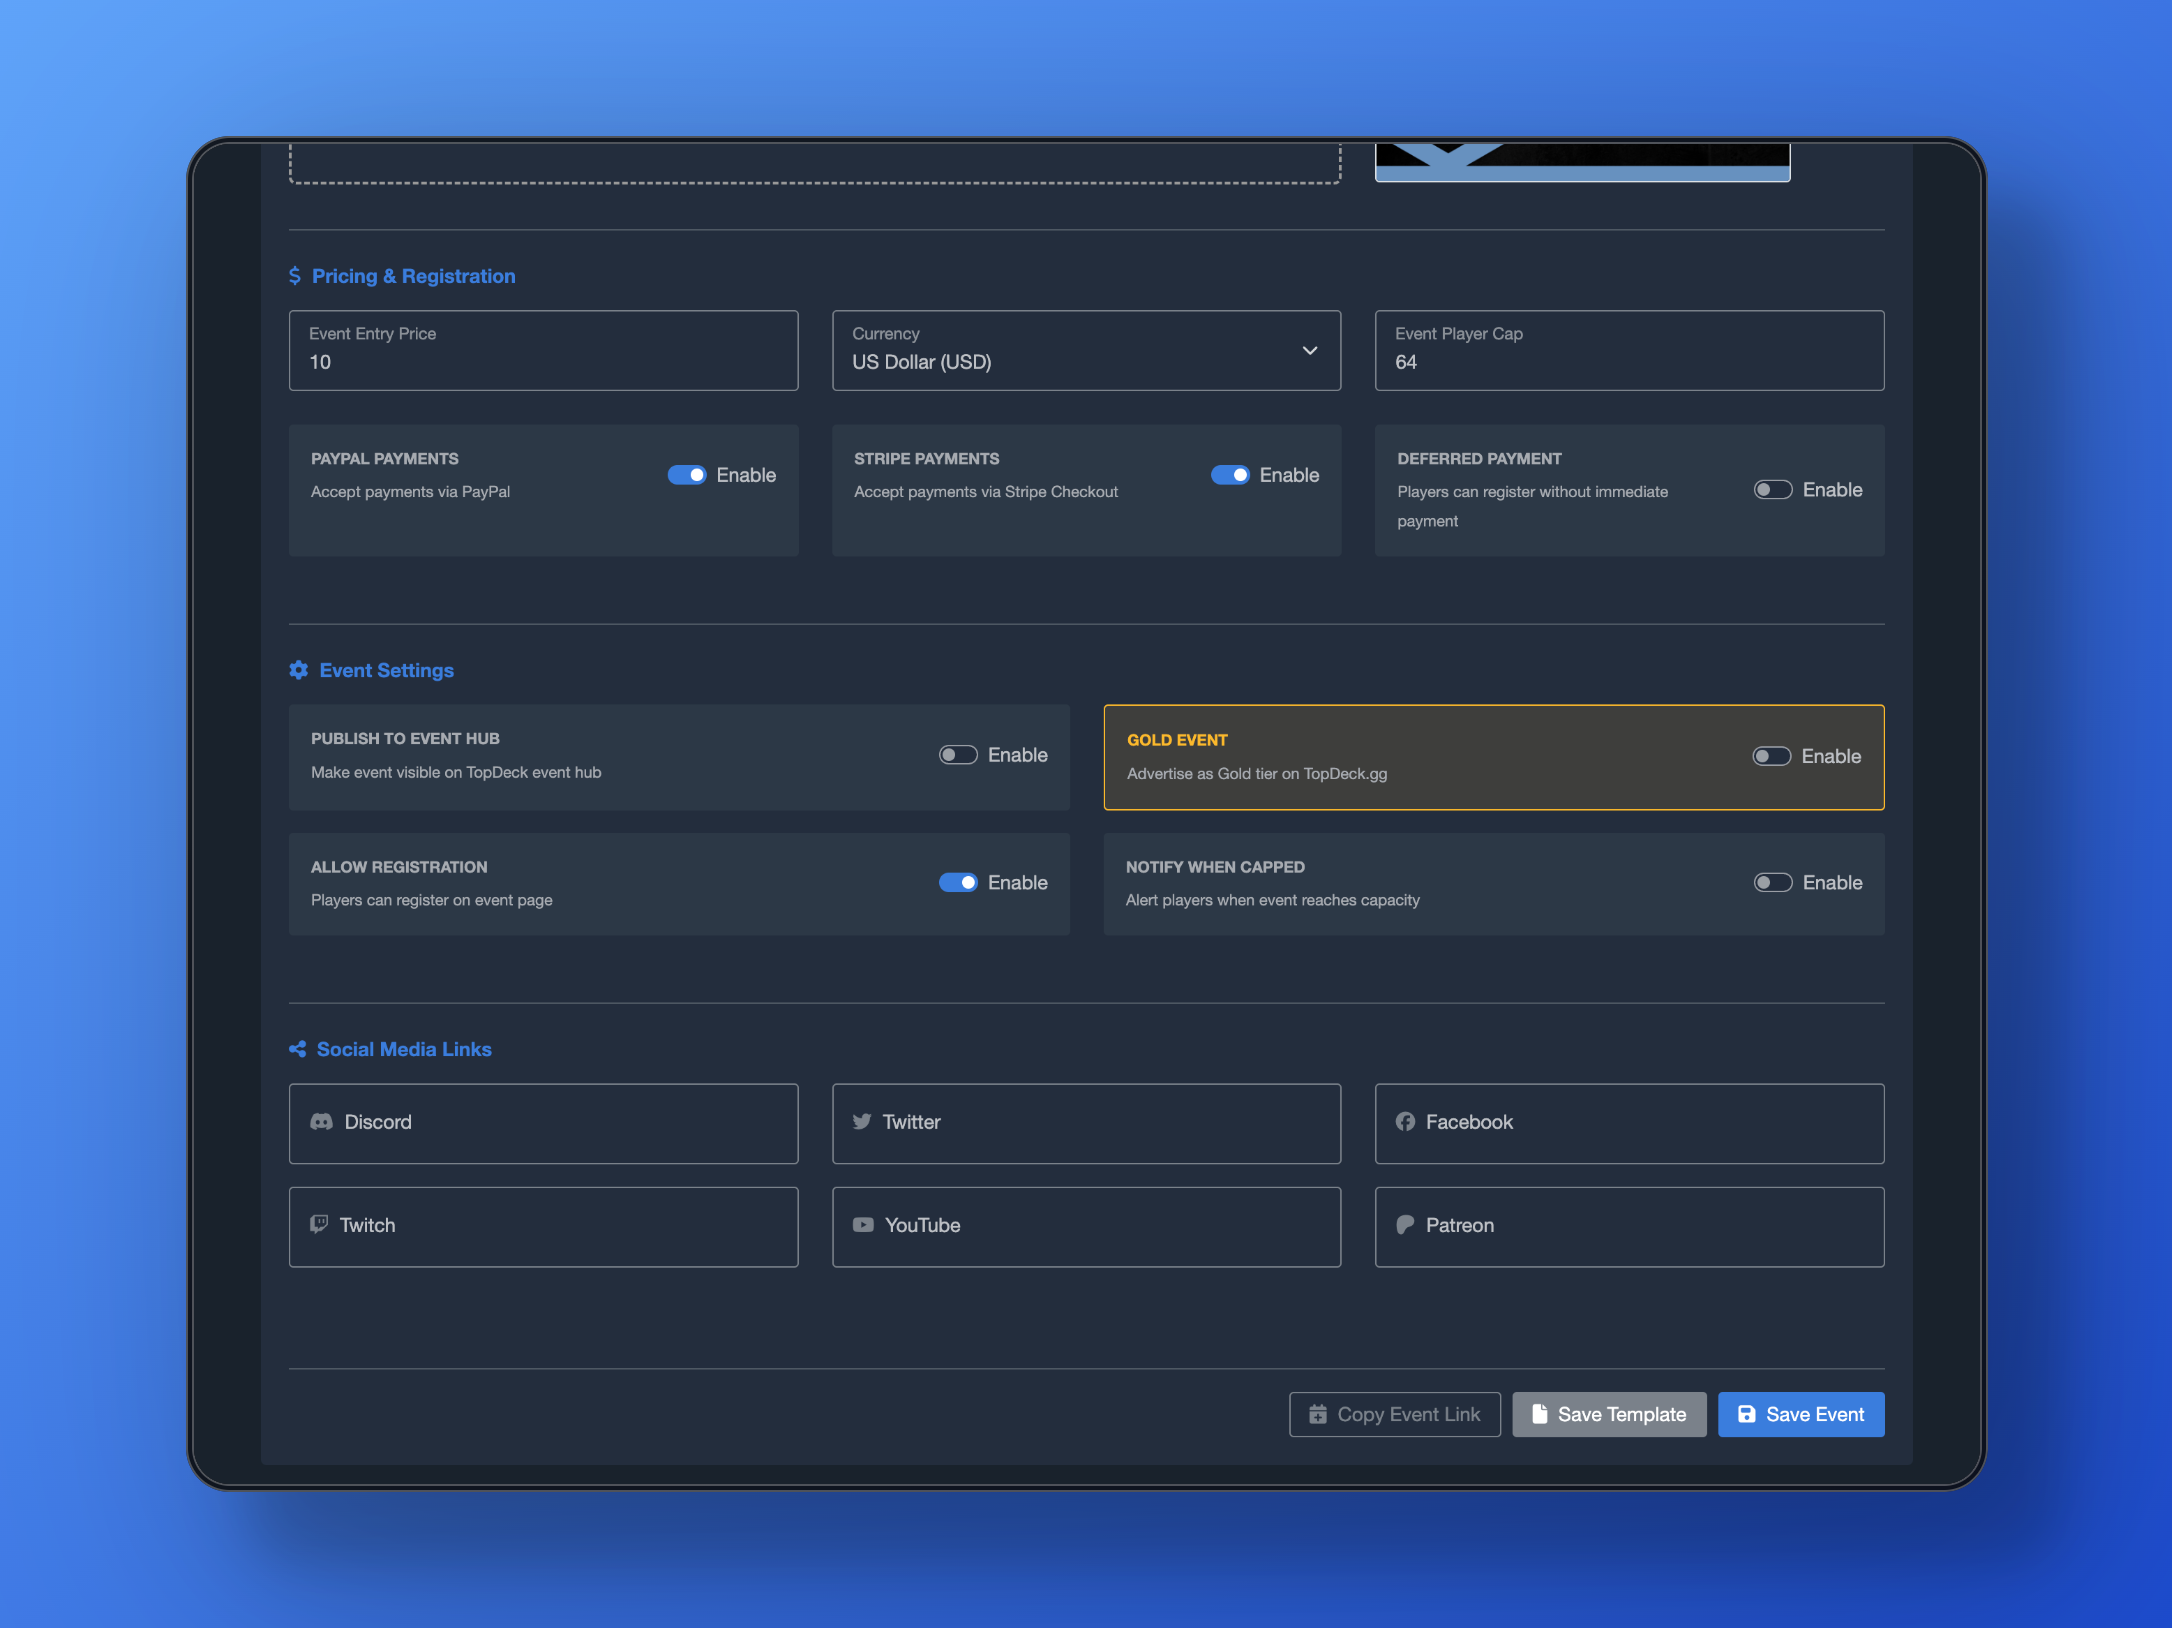
Pricing & Registration
In this section, you can set pricing for your event, how to take payments, and set things like player caps.
- Event Entry Price: The price to enter your event. Simply setting this lets players know how much ticket entry will cost, even if you don't use on-site payment processing.
- Currency: Set the currency of the entry price. There are several international currencies available to select from.
- Event Player Cap: The player cap for the event. Once registrations hit this number, additional players will be prompted to join the waitlist instead. A running counter of seats remaining also appears on your event page if this is set.
- PayPal Payments: Allows you to accept payments via PayPal. See more at Payment Processing
- Stripe Payments: Allows you to accept payments via Stripe. See more at Payment Processing
- Deferred Payments: Allows players to defer paying for the event if payment processing options are enabled. If a player registers without paying, they will lack the Paid tag in the player manager, allowing you to see who has paid and who hasn't.
Event Settings
Additional settings for your event page. Lets you control things like visibility and registration flow.
- Publish to Event Hub: Allows your event to appear on the event hub. If you want to hide it or not make it public, toggle this off.
- Allow Registration: Allows players to register on the page with the set registration setting (payments, no payments, etc). Turn this off to completely close registration.
- Notify When Capped: Sends a notification out to all players in the event once the event is full.
Social Media Links
You can link to social media where you maintain a presence. The event page will have links to these pages.
Step 4: Publish Your Event
Once you have filled out all the necessary fields, be sure to click the "Save" button. You can find the link to your event by clicking the "Copy Event Link" button. Additionally, you can click Get QR Code and get a QR Code linking to your event page as well.
Using Templates
Finally, you can save preset templates and load them. This reduces repetitive tasks like filling out social links, location, or contact details.
To save a template, after filling out the details of an event page, click Save Template. You can then load templates by clicking the Load Template dropdown at the top and selecting the template you want to load. The details will automatically fill in, and you can modify what you need.